Tank level gauges like liquidators are essential components for water tanks, liquid fertiliser tanks, and other chemical tanks when the accuracy of liquid content is vital in keeping your operations running smoothly and efficiently. Besides that, knowing your tank content at a glance will help you make decisions quicker.
So, here are the top frequently asked questions regarding liquidator tank gauges and their answers.
-
How do liquidators work?
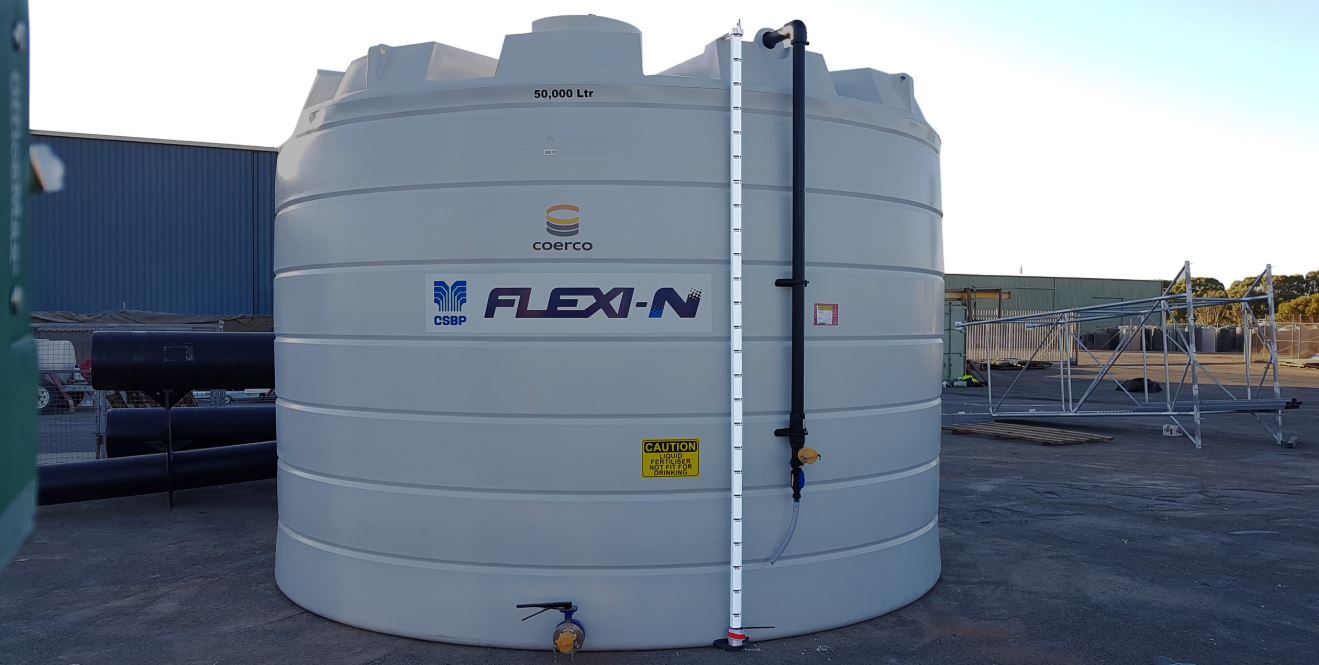
The main parts of a liquidator are: the float (situated in the tank), the indicator (outside the tank, hugging the PVC pipe), and the counterweight (inside the PVC pipe).
The float and the indicator are attached to different cords. Each cord connects to the counterweight. The counterweight goes the opposite direction relative to the direction of the float and the indicator, while the float and the indicator are level with each other. 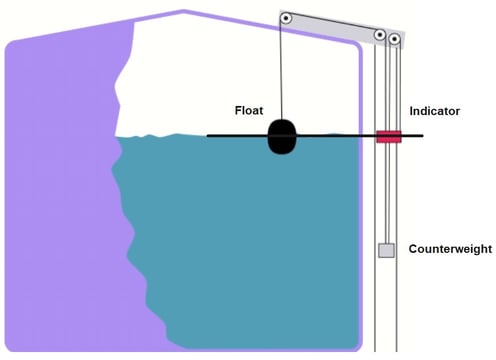
The float (black) and the indicator (red) are level with each other. The counterweight goes the opposite direction.
Only half of the float is submerged in the liquid content. When liquid level rises, the float rises with it while the counterweight moves down. When liquid level falls, the float drops, hoisting the counterweight up. Outside the tank, the indicator always keeps pace with the float, indicating the level of the liquid.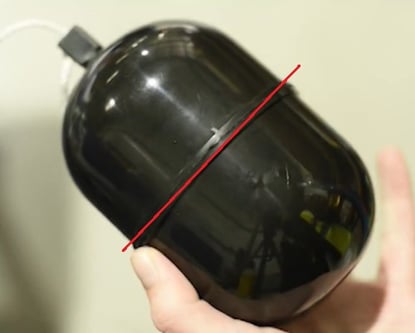
Only the bottom half of the float is submerged in liquid.
-
What are possible reasons why a liquidator won’t work?
- Missing/damaged/unfastened float (in this case, the indicator would sit right at the top of the PVC pipe)
What to do:
Unscrew the tank lid and retrieve the float with a wire. If broken or missing, call the tank manufacturer.
See video for accuracy.
- If the counterweight is incorrectly positioned during installation, the indicator would sit somewhere in the middle of the PVC pipe.
What to do:
- Unscrew the bolt on top of the tank.
- Release the top of the PVC pipe to gain access to the cords.
- Pull the counterweight right to the top.
- While holding the counterweight stable, adjust the float cord and the indicator cord so that the float and the indicator are a few centimetres above the bottom/ground.
- Let the float slightly ‘fall’ until you hear it touch the bottom of the tank.
- Mark the spot on the cord below the counterweight and tie a double knot there to secure it.
- Return the indicator inside the PVC pipe and place the pipe back into position.
See video for accuracy.
- Watch out for tangled cords. Turbulence brought about by liquid sloshing and swirling when the tank is being filled or pumped out can tangle the cords. When cords are tangled/twisted, the main components (float, indicator, and counterweight) can stop functioning properly. If you notice this happening, simply undo the tangles.
-
Can the liquidator be used for other liquids?
Within the agricultural sector, a liquidator is usually used for liquid fertiliser storage tanks or water tanks. Bear in mind that only the float comes into contact with the liquid inside the tank. Besides liquid fertiliser and water, liquidators are also compatible with a wide range of liquids such as wastewater, effluent waste, chemicals, oils, acids, and more.
-
Can a liquidator be used for underground tanks?
No, because then you’ll have no way of seeing which liquid level the indicator is pointing to. The best option for underground tanks is a dip-stick tank level gauge.
-
Does the liquidator require maintenance?
Liquidators don’t need regular maintenance. Perhaps the only item that you’d want to watch out for is the cord. However, the cord outside of the tank is protected by the PVC pipe while the one inside the tank is protected from the elements. Hence, the chances of damage are slim.
If damaged, the cord is replaceable. As soon as signs of wear and tear become apparent, replace the cord immediately or contact your manufacturer for assistance.
More questions? Don’t hesitate to contact Coerco today.




What do you think about this post?
Comments